Installing temporary fencing on uneven terrain presents unique challenges. A stable, well-placed fence is crucial for security and safety, especially at construction sites or events. This guide provides a comprehensive step-by-step tutorial on installing a fence on a slope, ensuring proper stability and safety.
Whether you work in construction, maintenance, or manage large-scale events, understanding how to handle sloped or uneven terrain is essential for securing sites. Follow these steps to ensure a smooth temporary fencing installation.
Understanding the basics of temporary fencing
Before starting the installation process, it’s essential to understand temporary fencing and its necessity. This type of fence is modular, lightweight, and designed for short-term use. You’ll typically find them on construction sites, at public events, and for crowd control.
But fencing a natural slope becomes more complex than on flat ground. Sloped installations require careful attention to stability and fence panel alignment. Mastering these techniques is critical to ensuring fence reliability if you’re working on-site.
Materials and tools you’ll need
- Temporary fencing panels
- Clamps
- Feet for securing fence panels
- Measuring tape
- Level
- Stakes for additional support on steep inclines
Challenges of fencing on a slope
Slopes present specific issues during the fence installation process, including:
- Panel misalignment: Panel tops often fail to align vertically on uneven ground.
- Gaps: Due to uneven terrain, a small gap between the temporary fence panels and the ground can leave the site vulnerable.
- Stability: Without proper securing methods, temporary fence panels may shift or tip, creating safety hazards.
Addressing these challenges is important to ensure site security and prevent accidents, especially in high-risk construction sites.
How to install a temporary fence on a slope: A step-by-step guide
Here’s the detailed process to install a fence on a slope, ensuring it remains secure and stable.
Step 1: Prepare the site
Before you build a fence, inspect and clear the area. Remove debris, rocks, or other materials and check for small dips that could interfere with its stability.
Pro tip: Always measure the slope’s incline using a level or digital measuring tool. Understanding the gradient helps plan your fence line and prevent unnecessary rework.
Step 2: Position the first fence panel
Start by placing the first fence panel at the highest point of the slope. This point serves as a reference for the rest of the panels. Ensure that the panel is level before securing it with temporary fence feet.
Positioning the first panel correctly is critical for keeping the rest of the fence stable and well-aligned as you move down the slope.
Step 3: Aligning panels on an incline
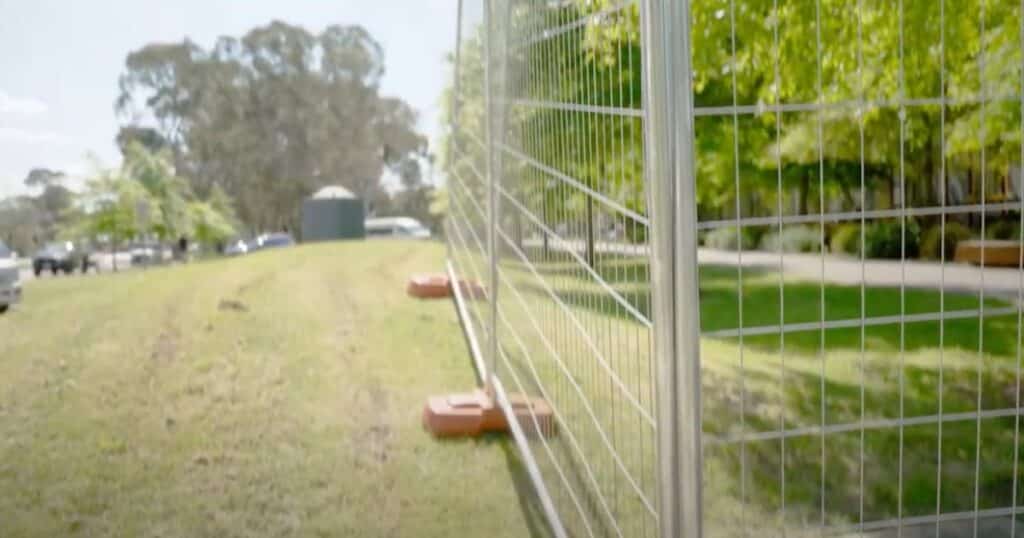
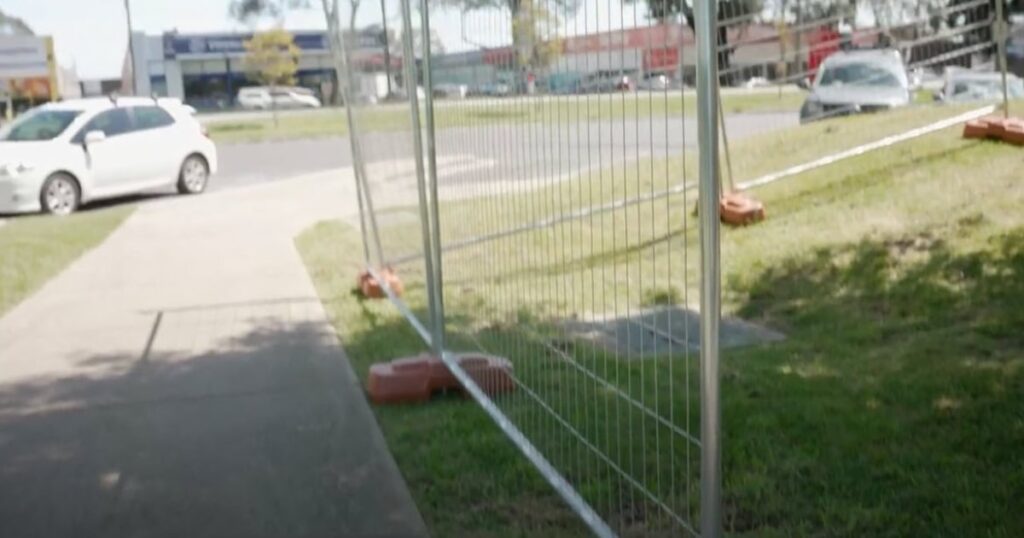
As you place additional fence panels, you’ll notice misalignment between their tops due to the slope. To solve this, focus on keeping the bottom of the panels secured. Use temporary fence clamps to secure the panels at the top, even if they don’t align perfectly.
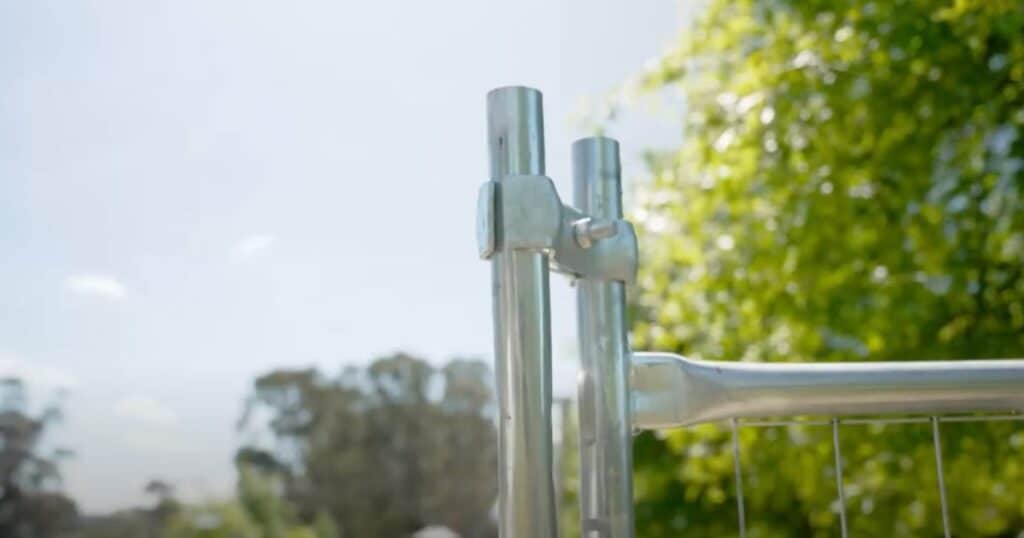
In some cases, misalignment may require adjusting the panel’s placement. For example, you may need to lift and install one panel over its foot to achieve a level top.
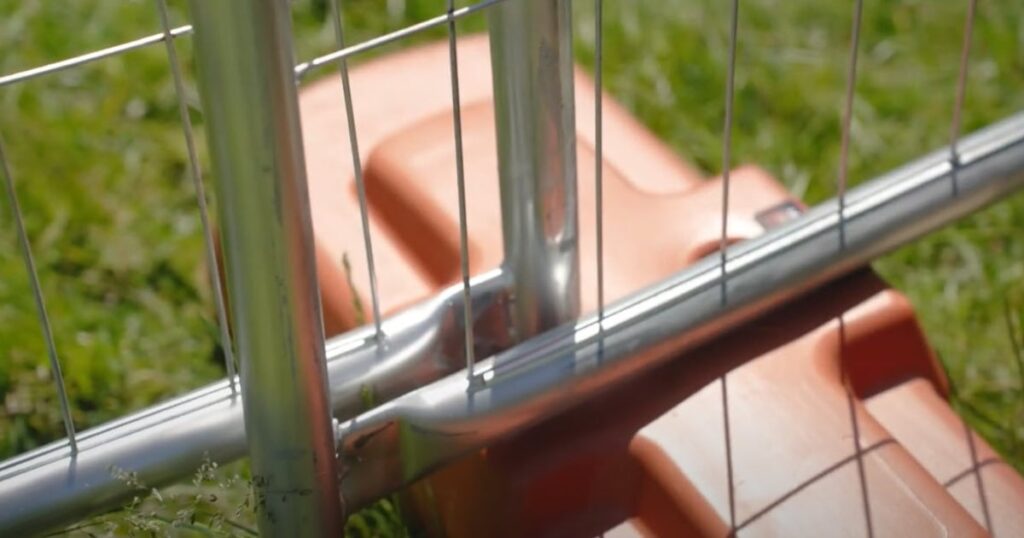
Step 4: Securing misaligned panels with clamps
If panel tops do not align, use high-quality clamps to secure them. First, check that the panel bottoms are firmly in place. Then, apply the clamp at the highest point and connect where both panels meet. With this technique, the fence remains sturdy even with uneven top alignment.
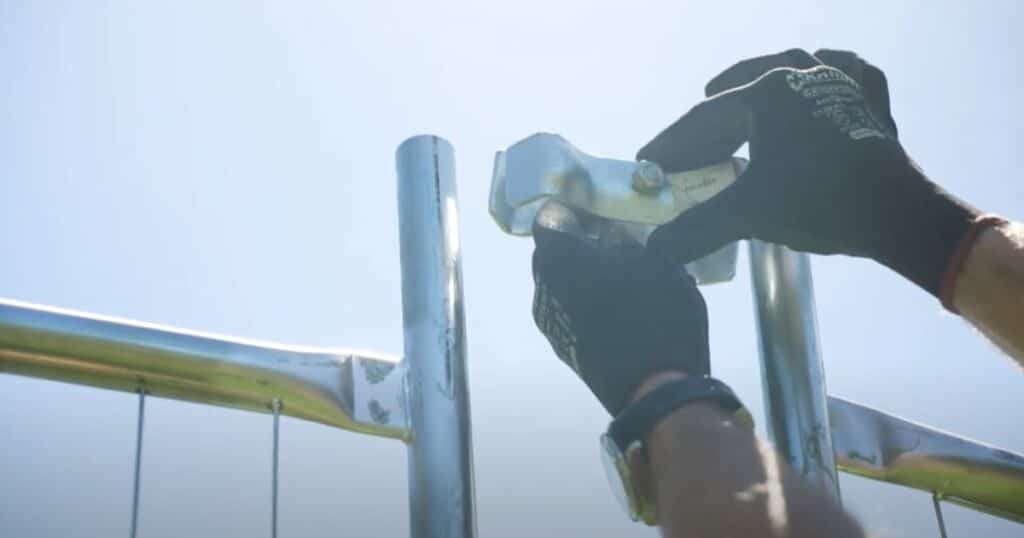
Step 5: Adjusting panel alignment
Once the panels are secure with clamps, inspect the overall alignment. Remove one panel from its base and reinstall it over the foot to ensure proper alignment with its neighbouring panel. Ensure the tops are level before tightening the clamps to lock the panels together.
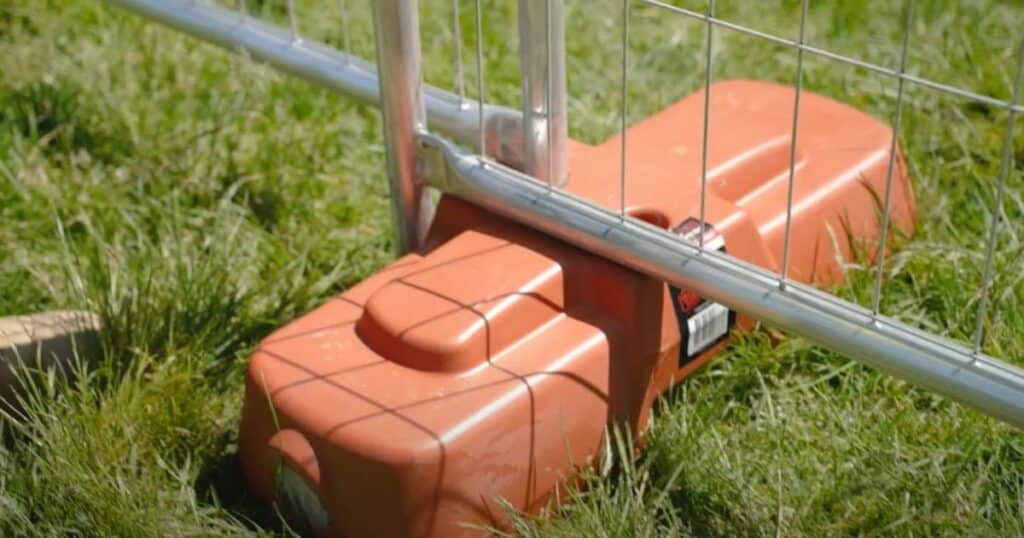
Step 6: Adding additional clamps for stability
Secure additional clamps in the middle of the panels to increase fence stability. This added support prevents shifting, especially on steeper slopes. The more secure the connection between the panels, the better the fence will withstand movement and external forces like wind or heavy equipment.
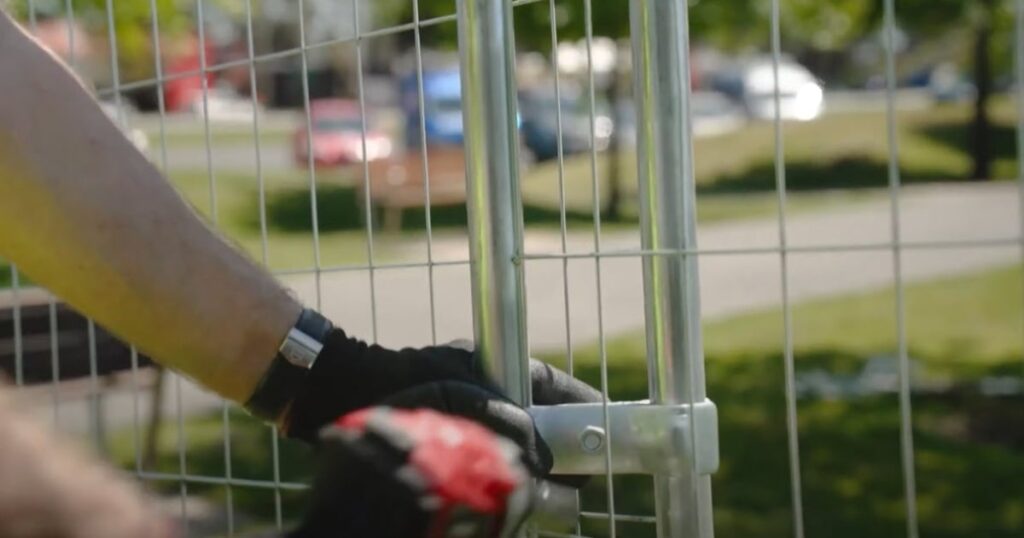
For a visual temporary fencing installation guide, check out this video: Temporary Fence Installation on Inclines and Slopes.
Tips for ensuring temporary fencing stability on slopes
Building a fence on an uneven or gradual slope requires careful planning. Here are some tips to keep your fencing safe and stable:
- Anchor key points: Use star pickets or concrete blocks to reinforce the fence at key points, especially at the top and bottom of the slope.
- Inspect for weak spots: Regularly check for areas where panels may have shifted or gaps have formed at the base.
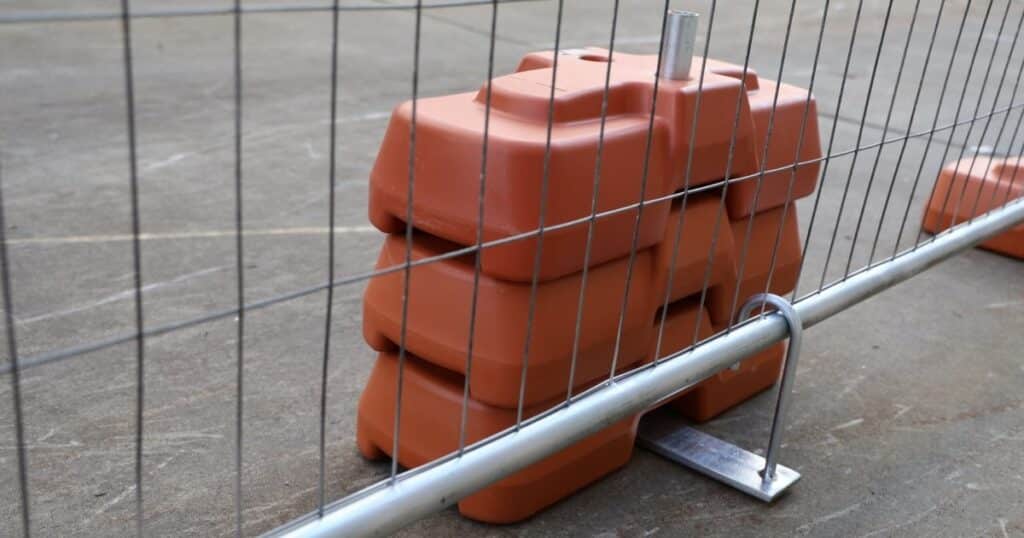
- Additional weight: On steeper inclines, consider adding extra feet to the base of the fence panels. This prevents tipping during high winds or heavy movement.
Safety considerations when fencing a slope
Safety is paramount when installing temporary fencing on an incline. Consider the following:
- Check local regulations: Ensure your temporary fence complies with Australian standards.
- Regular inspections: Check periodically for loose clamps or shifted panels, especially after severe weather or heavy site activity.
- Avoid overloading: Do not overload fences by attaching heavy items or signage, especially on steep slopes, as this can lead to tipping or collapse.
Common mistakes to avoid when installing a fence on a slope
Avoid these common errors during installation:
- Uneven post spacing: This creates unnecessary gaps that compromise security.
- Inadequate bracing: Lack of temporary fencing stays and bracing leads to instability on inclines and slopes.
- Ignoring ground conditions: Loose or unstable ground can cause the fence to shift. Always ensure the ground is firm or use sediment control measures, such as installing a silt fence.
Why proper temporary fencing installation is essential for slope sites
Correctly installing temporary fencing on sloped ground is vital for legal compliance, safety, and added security. Poor fencing on construction sites can lead to accidents, project delays, and legal issues. In events, it can compromise security and crowd control. Secure installation is non-negotiable whether you’re working in construction or managing an event.
Get the gear you need
Installing temporary fencing on uneven terrain requires extra care and planning, but following these steps ensures your fence remains stable and secure. Start at the highest point, carefully align your temporary fence panels, and use clamps to lock everything in place. Temporary fence hook plate anchors can be used for extra bracing in high-wind areas. Regular checks and adjustments are essential for maintaining the fence’s integrity.
Do you need high-quality temporary fencing products? Explore the range at TTFS and secure your construction site with the right solutions.
