Temporary fencing acts as a barrier to keep areas such as construction or building sites and event venues secure. TTFS’ temporary construction fencing panels are designed to allow quick and easy assembly on a variety of surfaces. Temporary fencing is required by law to confine any safety hazards during demolition, excavation and construction. The entire length of the construction site must be fenced off during the period of the project.
It’s also important to create a barrier for public safety – as you could be liable if a member of the public was to receive harm due to the absence of adequate fencing.
At TTFS, we have a range of temporary fencing panel styles and types for various industries and applications including construction panels, gate panels and heavy-duty options. All of our temporary fencing panels are manufactured to stand the test of time under harsh Australian conditions. TTFS’ temporary panels contain an anti-climb mesh, are hand welded for optimal strength and have a hot-dipped galvanised steel finish. To meet safety laws and standard regulations you must make sure your temporary fencing is installed properly. Read on for our tips on how to secure your site appropriately, efficiently, and most of all – safely.
Temporary Fencing Installation Guide Video
7 Temporary Fencing Installation & Maintenance Tips
Step 1: Check Your Conditions
First, you will need to assess if you’ve got adequate and safe conditions for putting up temporary fencing. Ensure that the ground you’re installing the fence on is level and the immediate area is clear.
Think about the weather – strong gusts of wind could be dangerous while you’re moving temporary fencing panels, and rain could create a slippery surface. As you’re laying out the stays, make sure you’re positioning them out of the way of your workers and any passing pedestrians – they can be a tripping hazard if not placed correctly. Once you’re confident of your site area, it’s time to start putting your fence together.

Step 2: Make Sure You Have the Right Tools & Materials
Once you’ve checked your conditions you need to gather the necessary tools and equipment to install your temporary fence. You will need a shifting spanner, brackets, clamps, fence base, stays, nuts and bolts and of course your fence panels. You may even like to extra material such as cloth ready for installation – this will be covered in step 6.
Step 3: Installing a Temporary Fence Panel
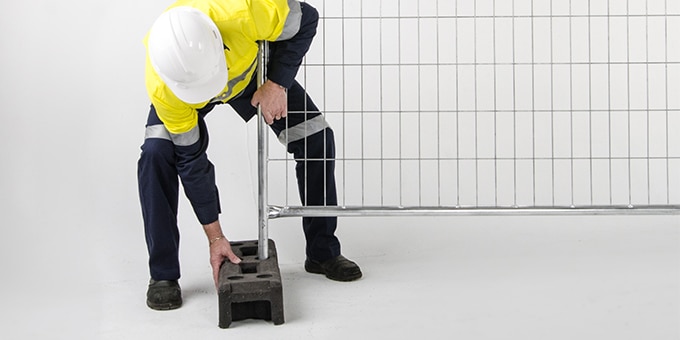
Now that you know where you want your fence to go and have determined the area is safe, it’s time to get started on installing on your first panel. Once you have determined which area you are going to barricade, set one temporary fencing base into position. Place one of the posts of the temporary fence panel into one of the holes of the temporary fencing base, then position a second fencing base for the other end of the panel. Once both posts are in place your panel will be held in position.

Step 4: Connecting the Panels
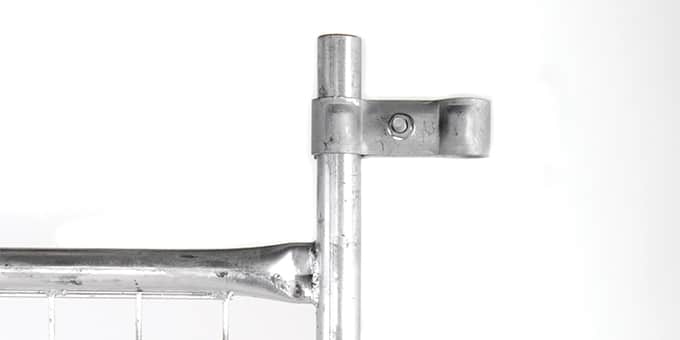
Place the leg of your next panel into the base, then put another base at the end of the panel. Now you will have two panels to work with, so it’s important to connect them properly. Use temporary fencing clamps to connect the two panels. The clamp is locked into place with a nut and bolt, so ensure you tighten the nut firmly enough to make the fence sturdy.
Another important tip to note is to keep the nut and bolt thread side facing inwards – this will ensure people on the outside of the fence can’t get injured by being caught on the nut and bolt. Repeat this process until you’ve fenced the area you’d like to keep safe.

Step 5: Install Safety Stays
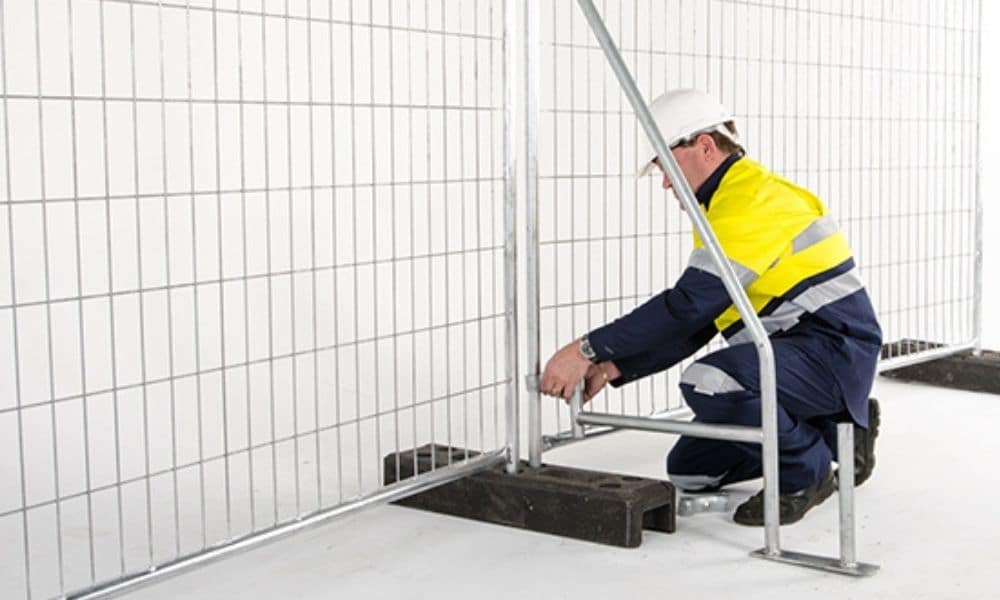
A temporary fencing stay will anchor your fence in place and keep the fencing from falling over, so they’re an integral part of the process. Once your fence is up, connect the stay to the back of each panel using brackets.
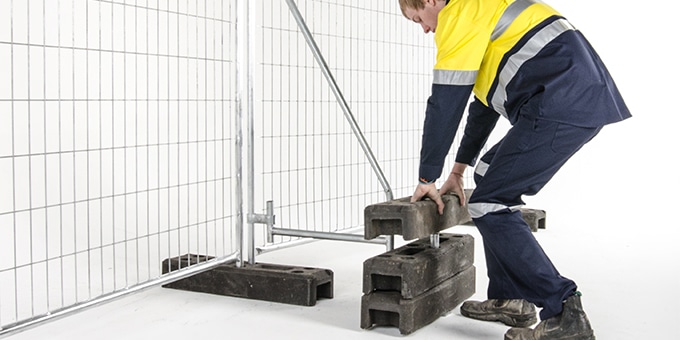
Connect one bracket down near the bottom of the vertical strut, and the other somewhere near the middle. To increase the stability, weigh the safety stays down with concrete blocks or sand bags.
Step 6: Wrap the Temporary Fence Panels
If you’re installing your temporary fence around a building site, it’s also likely you’ll need to wrap your fence for privacy and to improve security. Temporary fencing wrap is required by most local councils, as it stops debris and dust from being blown into the public space.
You can use banner mesh or shade cloth rolls, and you can also get these branded as a cost-effective advertising method!
Step 7: Maintain Your Fence
It’s not only important to install your fence safely, but also to maintain it as time goes on. Depending on how long your temporary fencing is set up for, it’s a good idea to cast your eye over it on a regular basis to ensure the stays are sufficiently anchoring the fence and the clamps are still nice and tight.
Also check regularly to ensure the bases remain in the correct position and aren’t a tripping hazard.
Contact the Temporary Fencing Experts
If you follow these simple steps, your temporary fencing will be safe for you, your workers, and anyone in the proximity of your site! At TTFS, our fencing is designed for fast installation once on site – all you need is basic hand tools. For example, you can easily install 200 meters of panels in less than 2 hours!
Our temporary fencing is designed for quick installation with little training. If you require any assistance or advice, please give the TTFS team a call on 1300 841 782.
TTFS Fencing Made for Australian Conditions
At TTFS, our temporary fencing is strong and manufactured to handle harsh Australian weather conditions. Whether your temporary fence is required to protect your construction or property site, we have a product that will be suited to your needs. Phone us today on 1300 841 782 or fill in an enquiry form and we will be in touch.
Australia Wide Delivery
With our nation wide distribution network and offices across Australia, TTFS are proud to provide Australia wide delivery for all of our temporary fencing products. Improve the safety of your site and contact us at TTFS today!

